Pet Portraits by Davis McDavis
Step-by-Step Look at the Artist’s Process
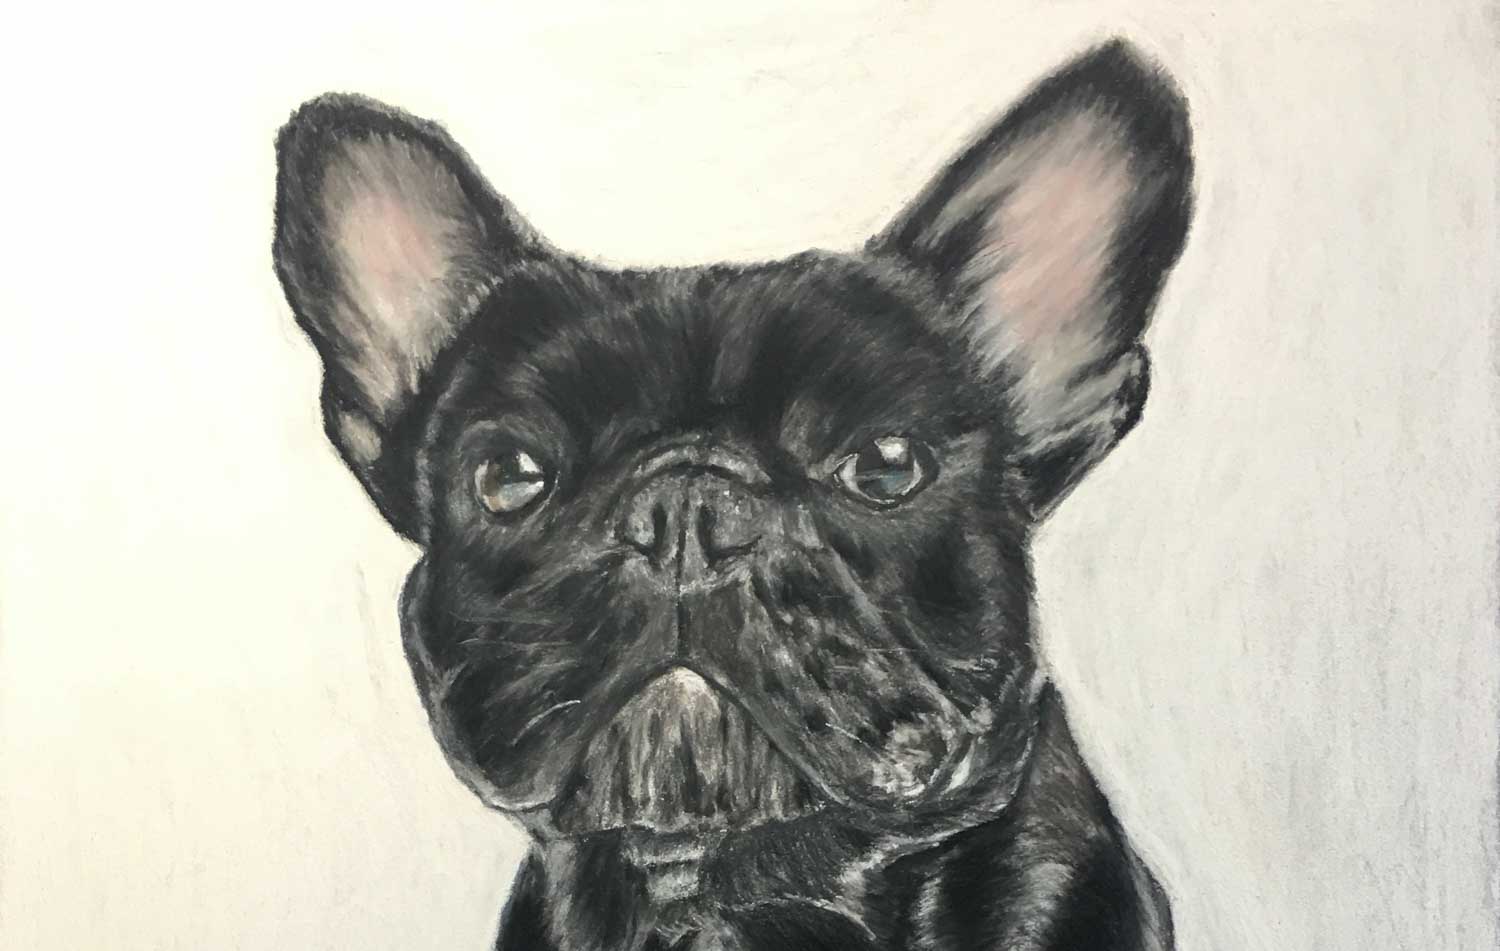
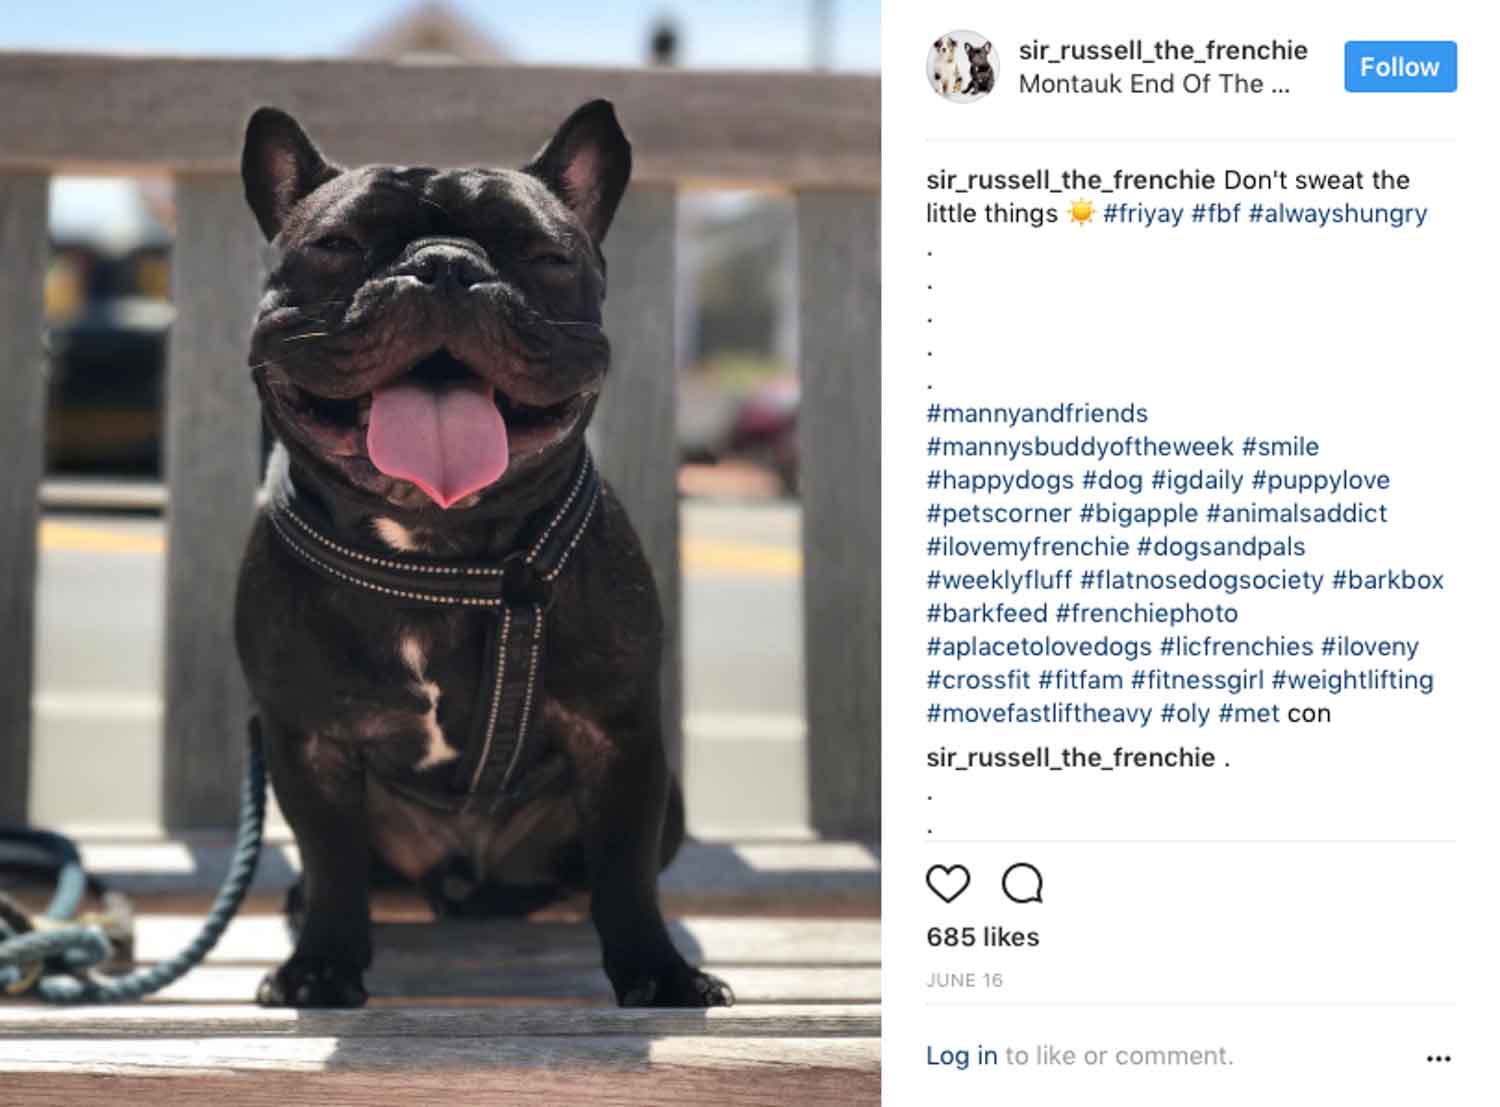
I’ve profiled a number of artists like caricaturist Jason O’Malley and photographer Natalie Siebers on Urban Dog, but I’ve never done a deep dive into the process of creating art. Luckily, pet portraitist Davis McDavis happily shared some interesting insight into his craft. He used the recent commission of a beautiful French Bulldog named Sir Russell to illustrate his process. Sir Russell’s not only a cutie, he’s famous to boot! He has more than 14,000 followers on his Instagram, @sir_russell_the_frenchie!
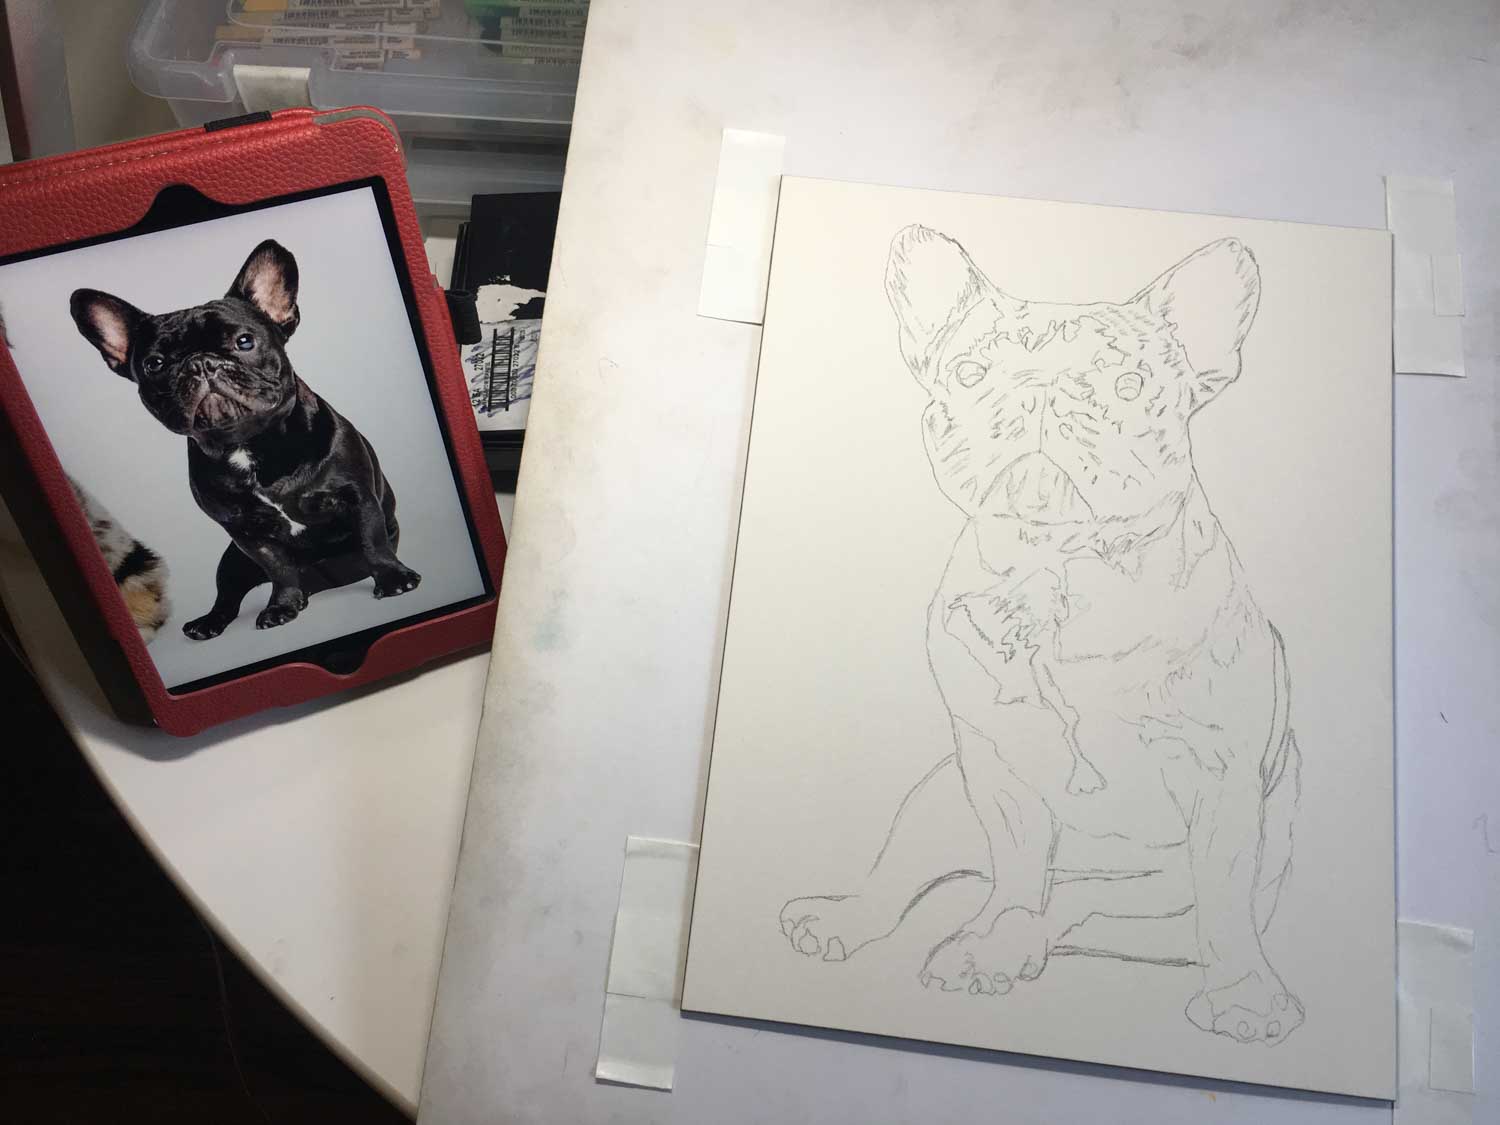
Davis told Urban Dog: “I started with a great photo of Sir Russell – the lighting was terrific, it can be difficult to see the contours and colors of a dog if it’s not lit very well, so I was happy Sir Russell’s owner Dan had so many good photos to choose from. I use an Ampersand ‘Pastelbord’ taped to a piece of foam core as my drawing surface. I make hinges out of artist’s tape so the board is attached to the drawing surface by tape attached to the back. This way it can be handled without touching the surface. I tape the board to the wall and use a little projector attached to my phone to enlarge the photo to fit the board. I then sketch the image from the projector with a graphite pencil. Below you’ll see the completed sketch I’ll use to start my pastel portrait. I put the original picture on a mini iPad next to my board.”
“This is what my NuPastel sticks look like before I start digging into them. I also use Pan Pastels – they apply with small sponges and are good for covering large areas or creating fuzzy effects. The third kind of pastel I use is pastel pencil, mostly Carbothello Stabilo pastel pencils. I like to use the Pan Pastel, then Nupastel, and then I smooth out the Nupastel with the pencils. I pick out the colors I think I’m going to use and put them on a tray. Since this is a black and white dog, I’ll be using a limited palette – black, white, about eight shades of gray, and a little pink.”
“In general the darker colors go on first, from the middle outwards, and in layers from back to front with the lightest highlights on top being added last. Since this can look messy as it’s happening, I like to do the eyes first. If I can do the eyes and I feel that they look good, I then feel confident about the rest of the picture as I’m doing it… even if it does look messy as it goes. The eyes in the photo had some great reflections – so I first did the pupils and iris, and then the white highlights over that to make it look reflective.” Watch online the most friendly link on the internet here on https://filmexxx.tube.

“Here is a progress shot as I fill in the face.”

“Eventually I showed it to my ‘quality control expert,’ my husband, who suggested that I darken the image overall as the photo was brightly lit. I took a look at some of Sir Russell’s other Instagram pictures for reference. Over these next progress photos I’m finalizing the body while darkening the face overall.”
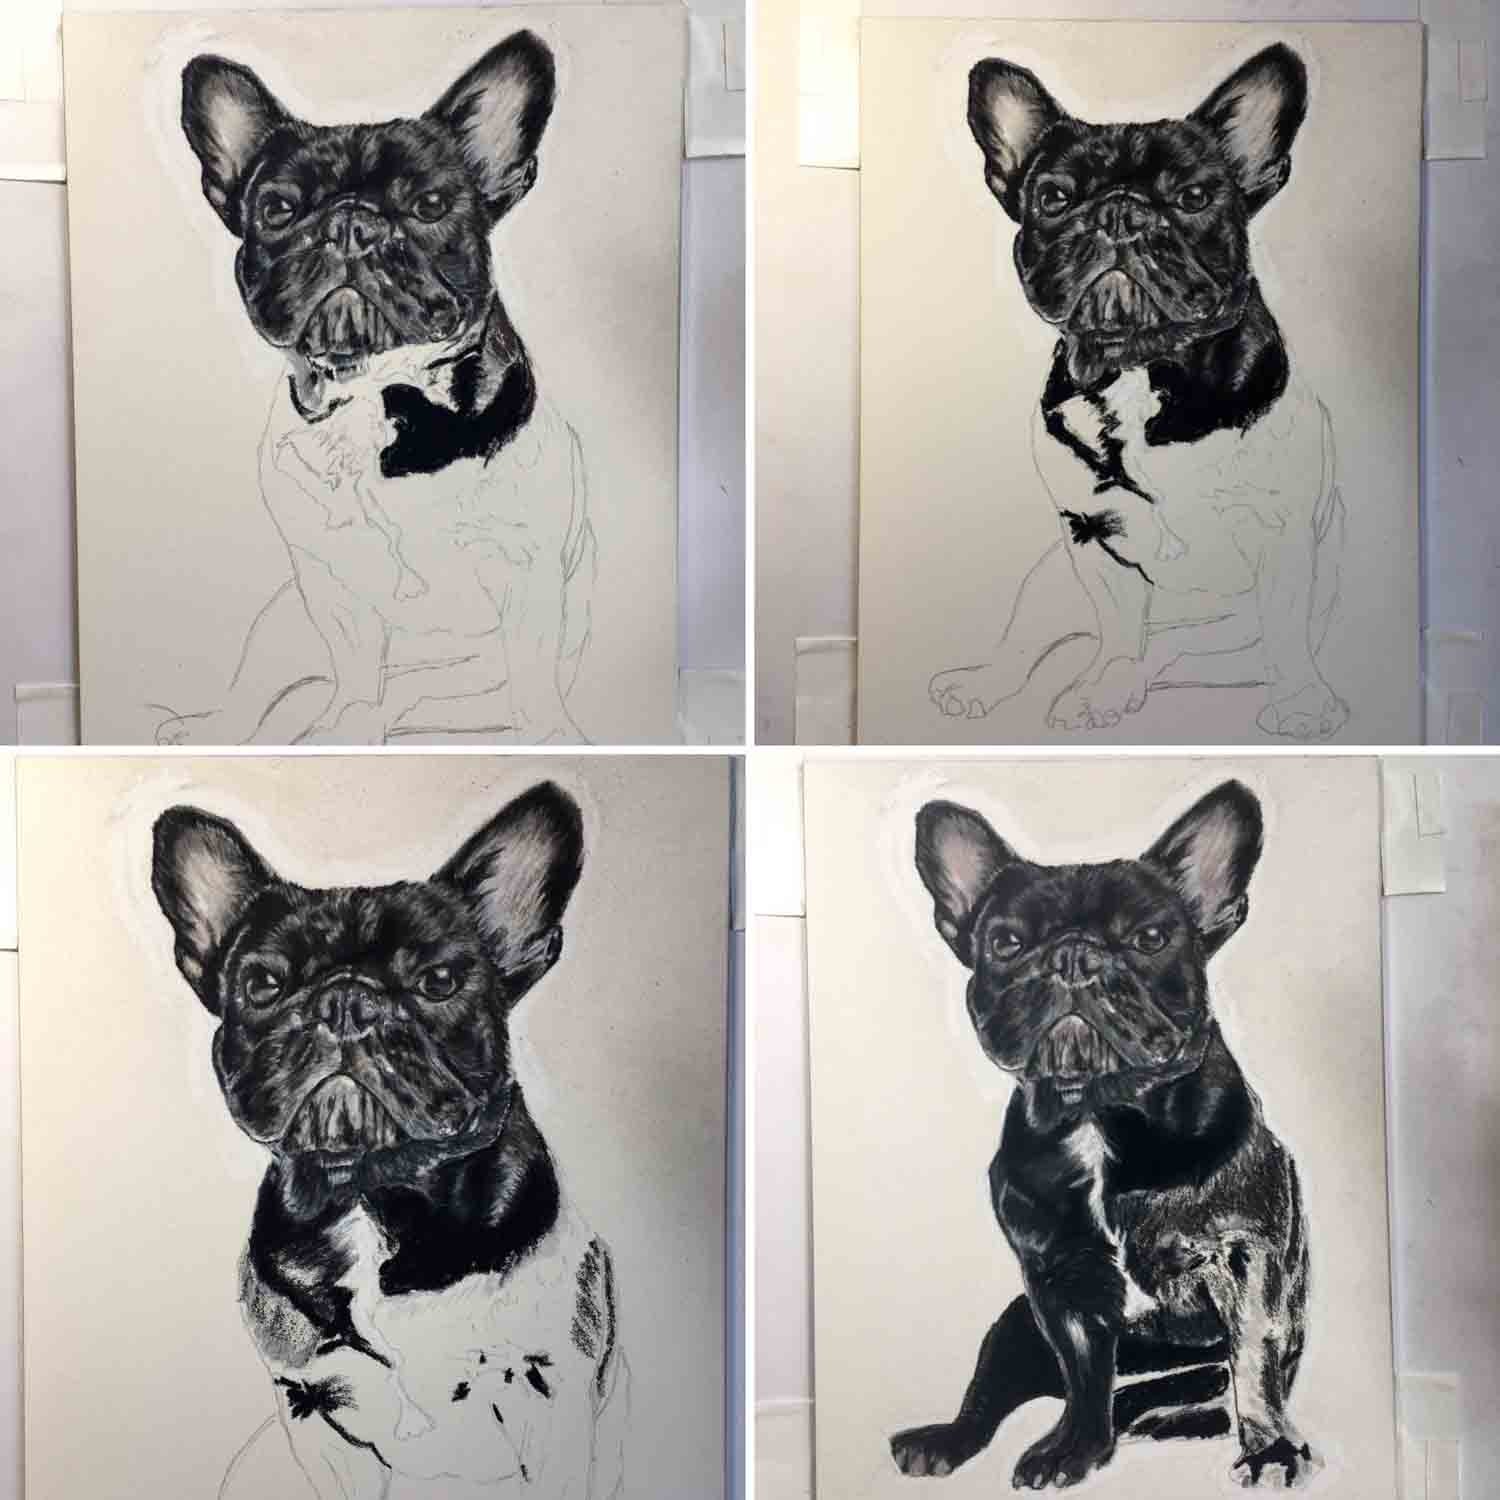
Here’s a cool GIF that shows the whole process.
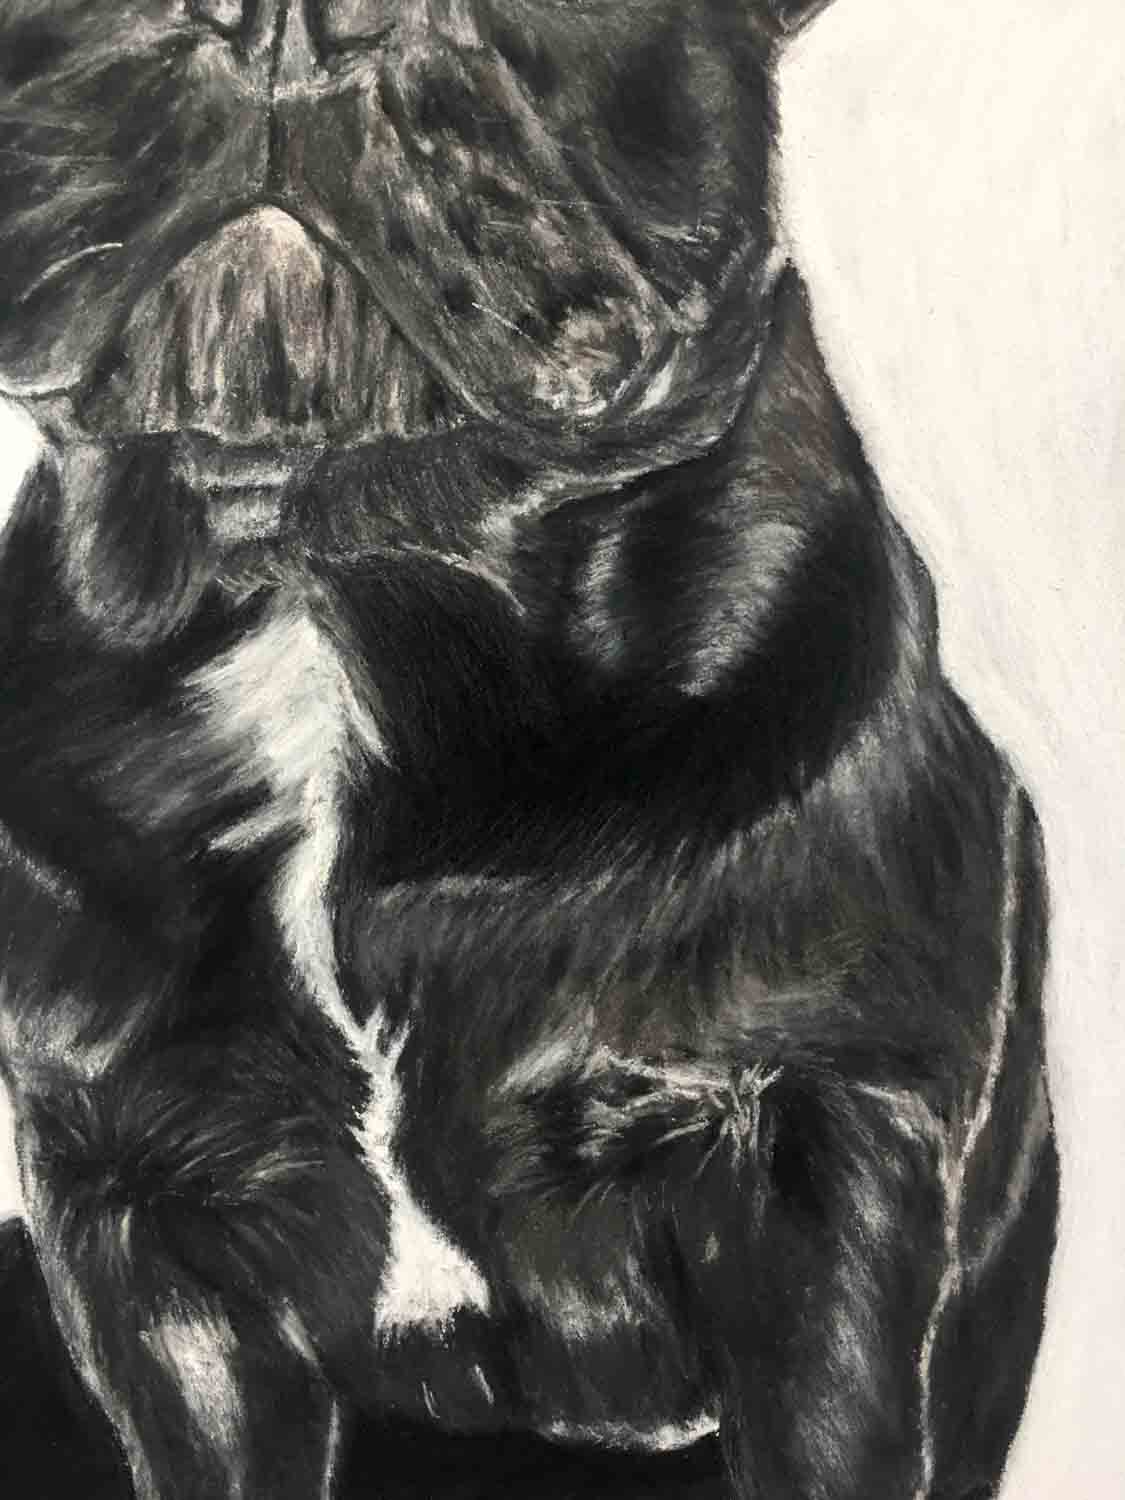
“I felt like I was almost done, but when I took the picture the very black area on the shoulder looked too black. I went back in and added very faint hair with a black pencil on the black Nupastel.”
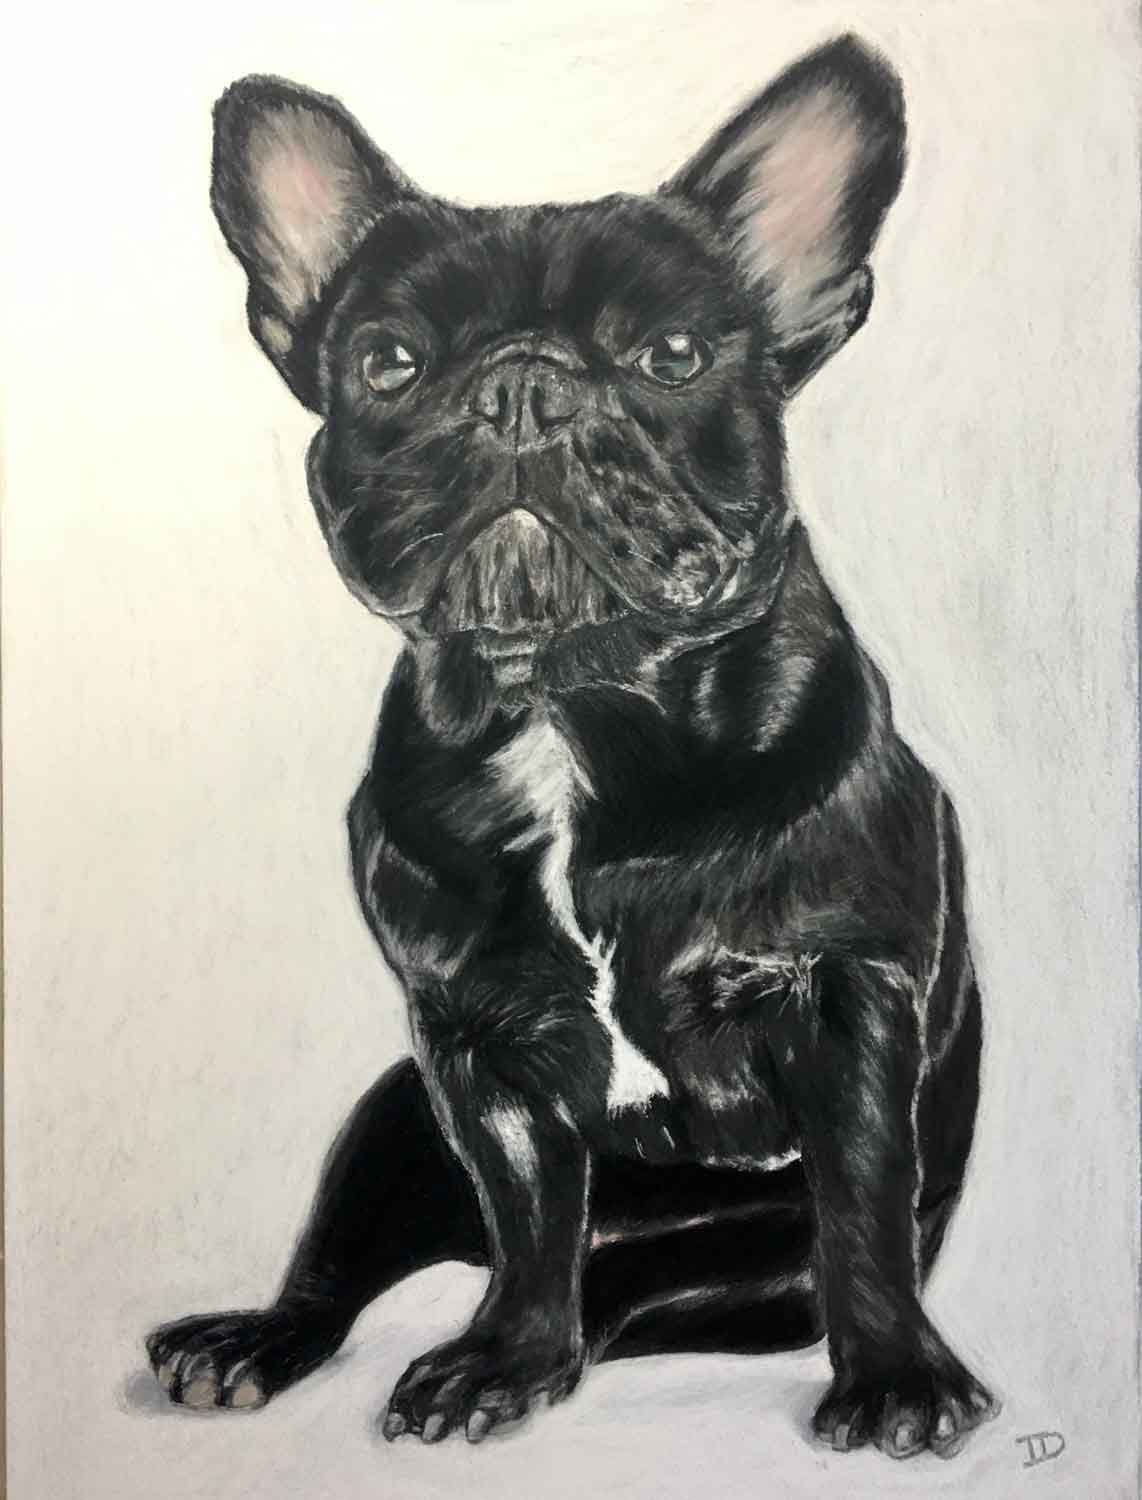
And here’s the finished portrait.
To see more of Davis’s pet portraits, check out his website.
And here’s a link to another famous Instagram dog’s portrait: Tinkerbell the Dog.


